Making a good connection - Quick easy tips to ensure a leak free water supply
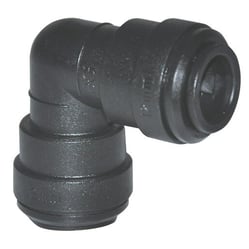
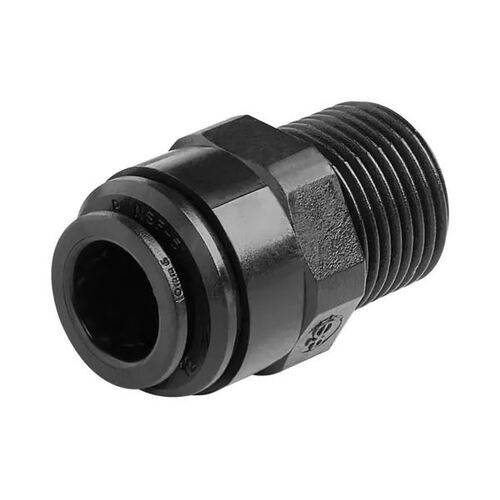
Your Zone RV caravan has been built with John Guest Speedfit metric PM fittings. Quick release fittings are easy to install and reliable, but at times you may need to remove or reinstall them for repairs and upgrades.
John Guest fitting and piping features..
- Quick disconnect
- Re-Usable
- Easy to join, repair or make additional connections
- No tools needed for fitting replacement


Here's a quick guide to help you!
Repair preparation:
- PVC or plastic pipe cutter, to cut any damaged tubing
- Small plastic container, to catch any residual water
- Replacement fitting required for the repair
- Clean/dry cloth, to prepare tubing for installation
Fitting removal:
- Isolate all water sources i.e. mains water supply, turn water pumps off
- Bleed off any residual water pressure in the system by opening a water outlet TIP: The water outlet at the draw bar is a great one to use for the cold water as it is at the lowest point of the water supply system. Be aware there may still be some residual water in the lines, a small container will help to catch any excess water.
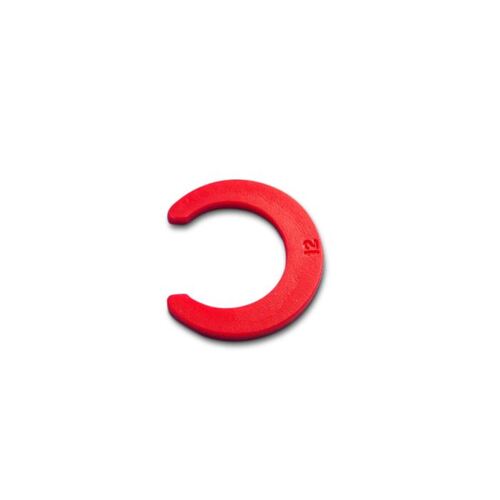
- Remove the red collet locking clip
- Push the pipe in towards the fitting, squeeze the collet in square against the fitting, with the collet held in this position the tube can be removed. The Collet (gripper) has stainless steel teeth which hold the pipe firmly in position, while the O-Ring provides a permanent leakproof seal
TIP: Pushing the pipe in prior to pushing the collet in will help to reduce any damage to the gripper inside the fitting
Pre-Installation checks:
- Before installing a new fitting check the outer surface of the tube to ensure..
- The tube is cut square with no rough edges
- There are no score marks, burrs or sharp edges
TIP: If the end of the pipe is not suitable for a clean water tight connection, use a plastic or PVC pipe cutter to remove the damaged section. This will ensure a square cut every time - Wipe the pipe end with a clean cloth to insertion depth as a minimum, approximately 30mm
Installing the new fitting:
- Install the replacement fitting by inserting the pipe into the fitting to the pipe stop, past the internal o-ring seal
- Once seated, pull on the pipe to ensure it is secure prior to checking under water pressure
- Re-install the red collet locking clip
Final checks to confirm leak-free operation:
- Re-introduce full water pressure from your nominated source- Mains supply or pump system
- Open water outlets one at a time to purge any air left in the system
- Check the repaired fitting or pipe work for leaks
CAUTION: If carrying out repairs to piping on the hot water circuit, firstly isolate and turn off the hot water system and then drain off any residual water in the pipe as temperatures up to 60 degrees celsius could be present. Hot water can be dangerous!
TRAVEL TIP! Add a remote travel water system emergency repair kit:
- 2x Equal straight connectors
- 4x Collet locking clips
- 1x Shut-off valve
- 2x End stops
- 2x Equal elbow
- 4x Tube inserts (For hot water applications)
- 2x Single check valves
- 2x Plugs
- 1x 500mm length of red 12mm pipe
-1x 500mm length of blue 12mm pipe
- PCV or plastic pipe cutter
- Clean up rags
- Small collapsible container
